
Small Electronic Boxes
 Electronics suppliers use these small boxes to ship components to customers. So, what’s a small box. Generally these types of boxes are 2-12 inches. They are convenient for small collections, but can be challenging if your collection gets larger. These boxes can have polyurethane anti static foam, which is good for chips with leads and pins, but not so much leadless chips. For leadless chips you will need to put separators in to keep the chips from banging into each other. As your collection gets larger, you’ll find that these boxes are more difficult to organize, access, and can lead to chip damage. The inability to see the chips in the package, require much opening and closing that can cause wear. For a small collections they are fine. Also, these boxes can have soft convoluted anti-static foam, designed for circuit board, not so good for chips, so be careful.
Buying these boxes new from a supplier can be pricey. The average cost will be about 50 cents for a 40 lead DIP chip (that’s my standard chip size). If you can buy a bunch of them eBay, great, just be careful about the condition. Also, staying with a uniform size will help greatly with organization and storage. In addition to these individual boxes, you will probably need to store these boxes in larger boxes, which you will need to storage on shelves, as your collection grows.
Large Electronic Boxes
Once again these boxes are used by electronics companies for shipping. The difference is that these are for larger components and boards, so instead of being made of electro-static resistant fiber board, they are made of anti-static resistant plastic. They are sturdier and can resist crushing better than the fiber board boxes. Larger boxes give you more flexibility in laying out and organizing your chips, but the downside is that you have develop some system to track where the chips are in the box (and make sure sure you keep them in the same place).
These boxes are generally designed to fit on standard shelves and be stacked. These are good for bigger collections, but not really large collections (2,000+).
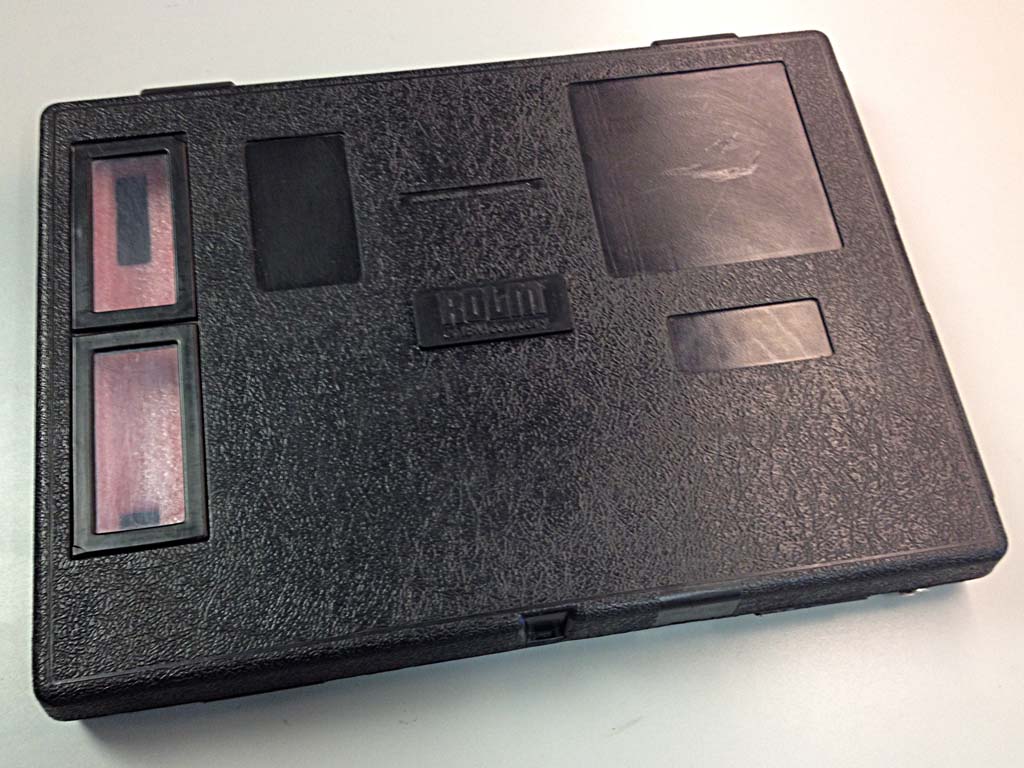 Large Plastic Box Large Plastic Box |
 Inside of the box Inside of the box |
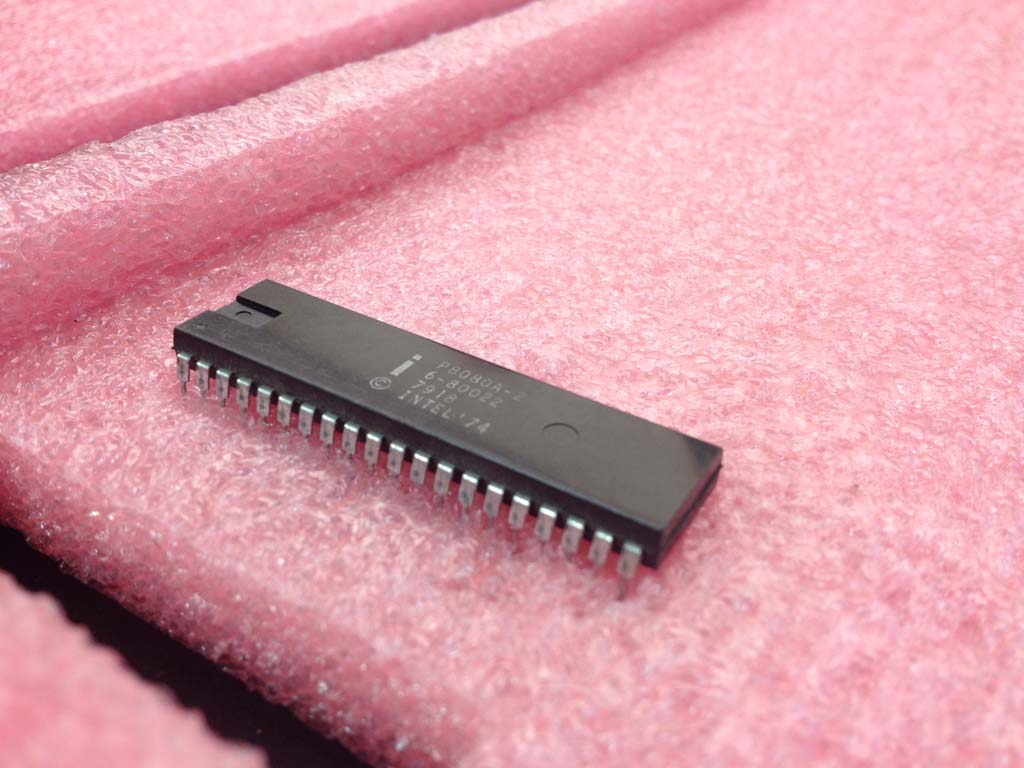 Chip in foam Chip in foam |
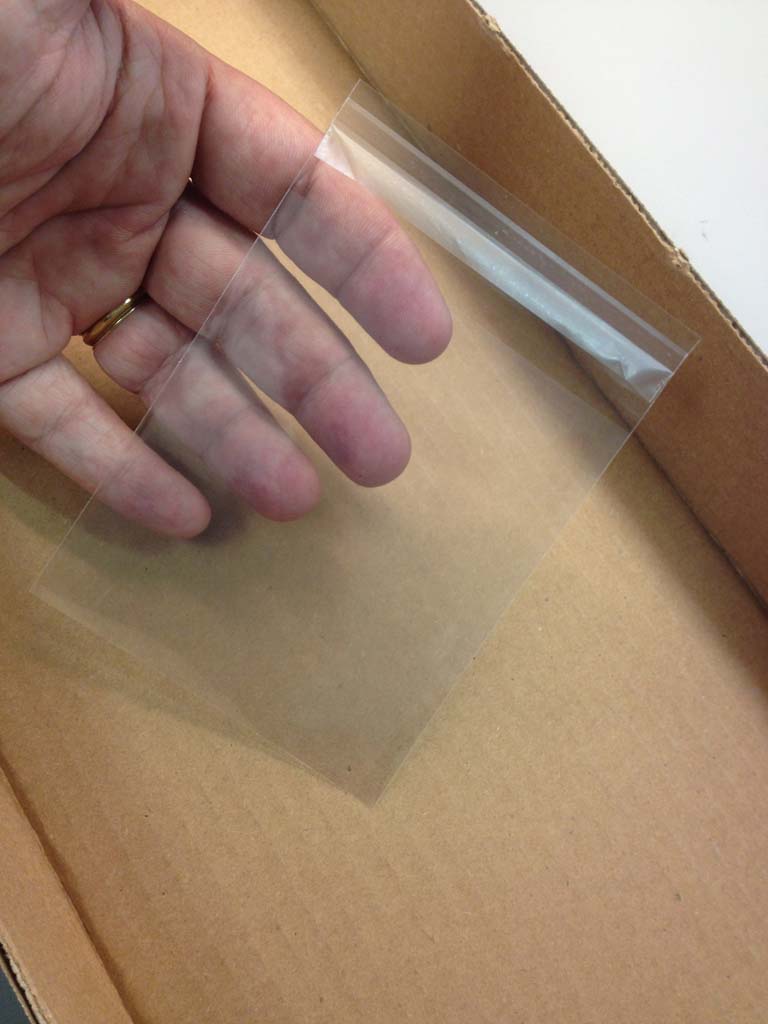
Clear Plastic Boxes
Clear plastic boxes are not designed for the electronics industry and don’t have anti-static properties. Your will have to cut anti-static foam to fit in the box. So, it is not optimum for electro-static protection and requires more work. It also suffers from all of the small box issues as described above, except that your chips are very visible and more easily shared. The chances for physical damage are reduced, so the overall risk to the chips is probably about the same.
Nice plastic boxes fitted with foam are probably the most expensive solution, about 75 cents per chip.
Baseball Card Boxes (My Preferred Solution)
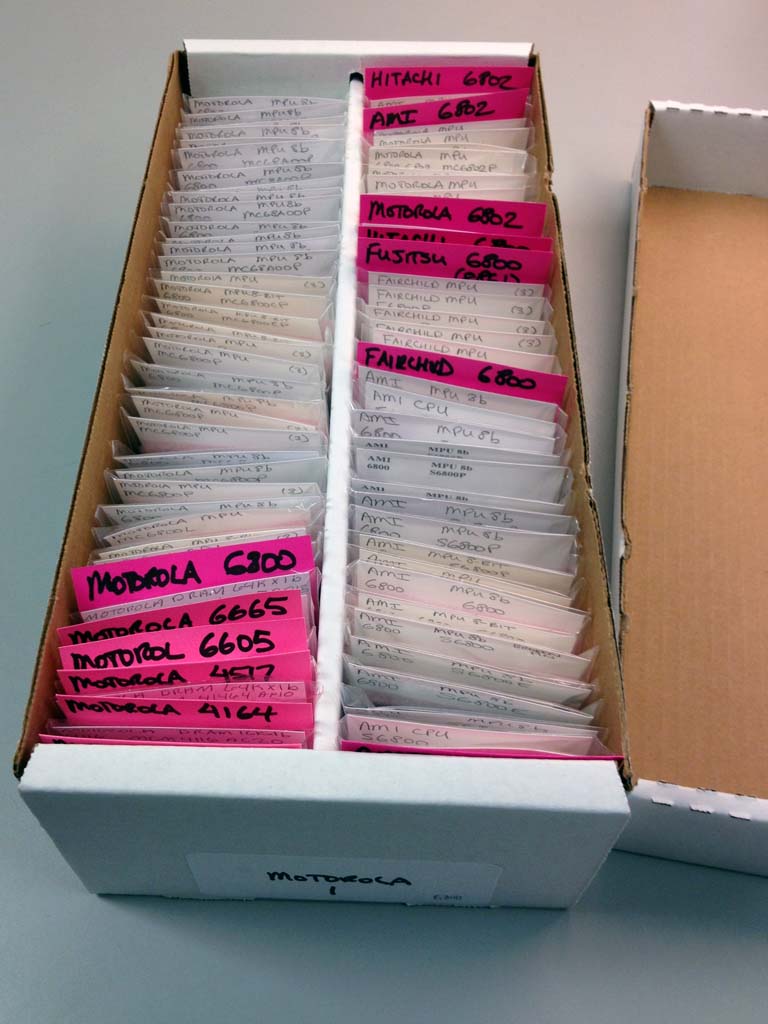
This my preferred storage solution. It took me a long to time to come to realize I was trying to solve a problem that had been solved already (I just needed to tweak it). Collecting, organizing, and storing lots of small things is something card collectors have done for years. They use acid free products. Their cards are easily viewed and organized. So, for my storage solution I start with the card collecting basics: Shoe boxes and team bags (so called because they can hold 20-30 cards, a team).
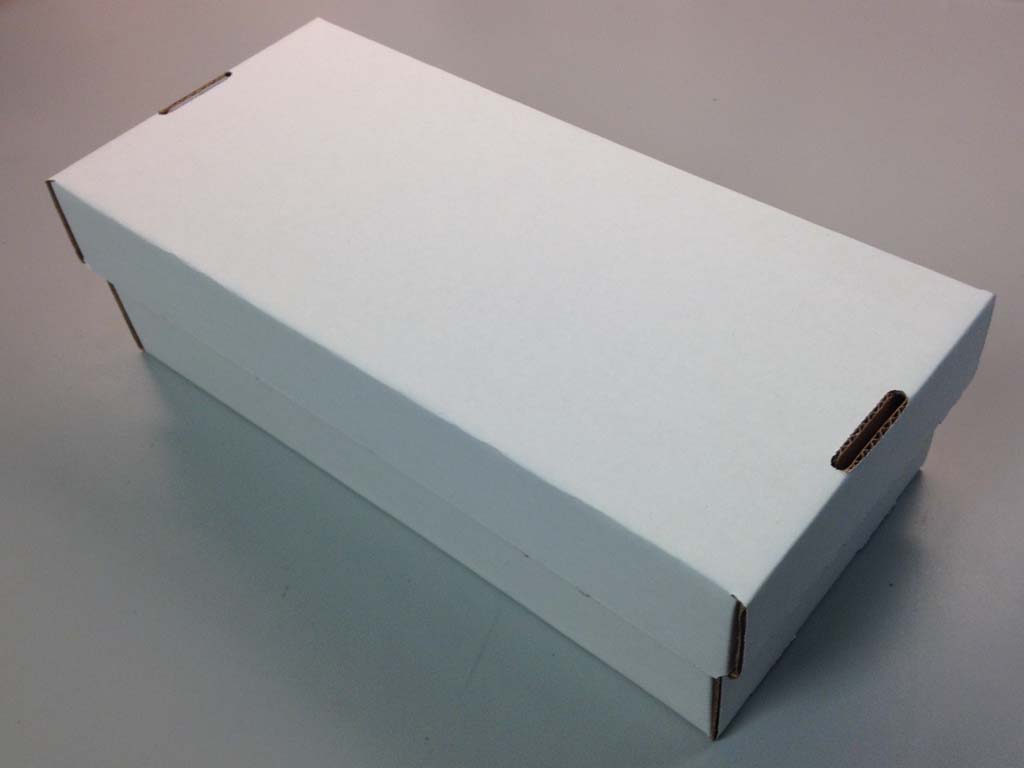 Baseball Card Collector’s Box Baseball Card Collector’s Box |
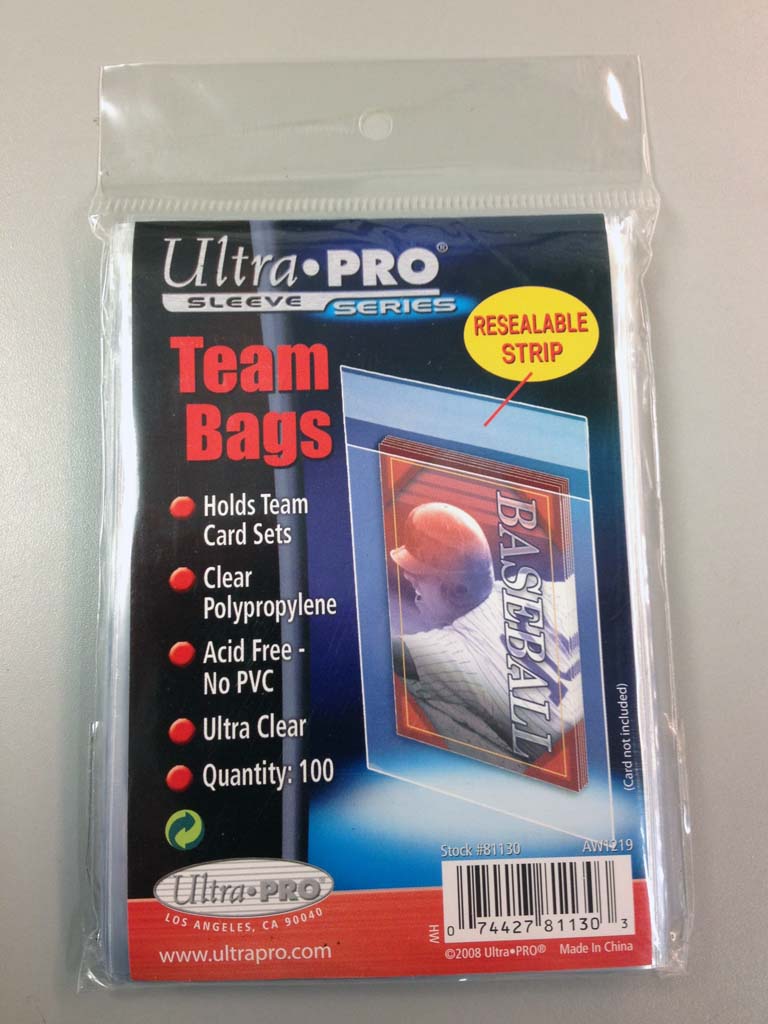 Bag of 100 Team Bags Bag of 100 Team Bags |
 A Single Team Bag A Single Team Bag |
I buy my boxes at my local card shop. Be aware the boxes can vary in size and shape based on the manufacturer, so I would standardize.The boxes cost about $2, less in quantity. Now here is where we part ways with the card collectors. I use 1/8″ pink anti-static foam to store the chips. You can buy 12″x175′ rolls of this foam at office supply stores ($35 at last check). I use acid-free card stock (55lb+) to label the chip and keep the leads/pins from poking through the bag. To get everything to fit nicely in the bag, I normally cut the foam to 3″Hx2.9″W (3.8″Hx2.9″W for 68 lead chips like the Motorola MC68000). I cut the card stock to 3.8″Hx3″W. Use graphite pencil to label the card stock at the top (label it on the back for 3.8″H foam). See the finished example below.
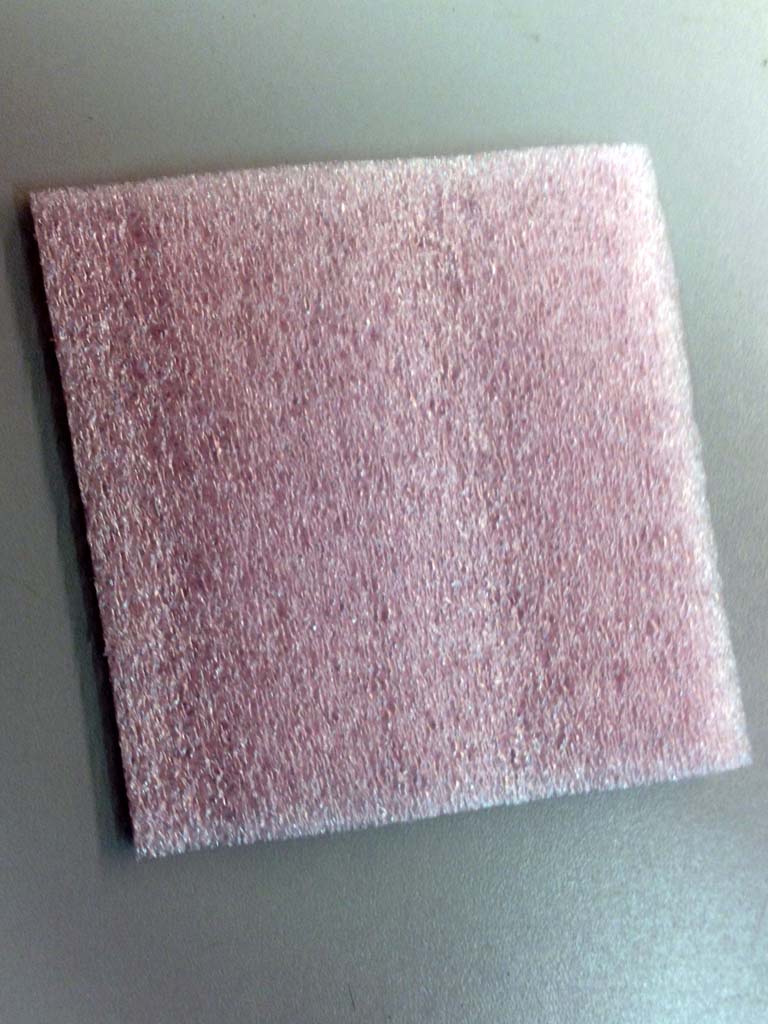 1/8″ Anti-Static Foam 1/8″ Anti-Static Foam |
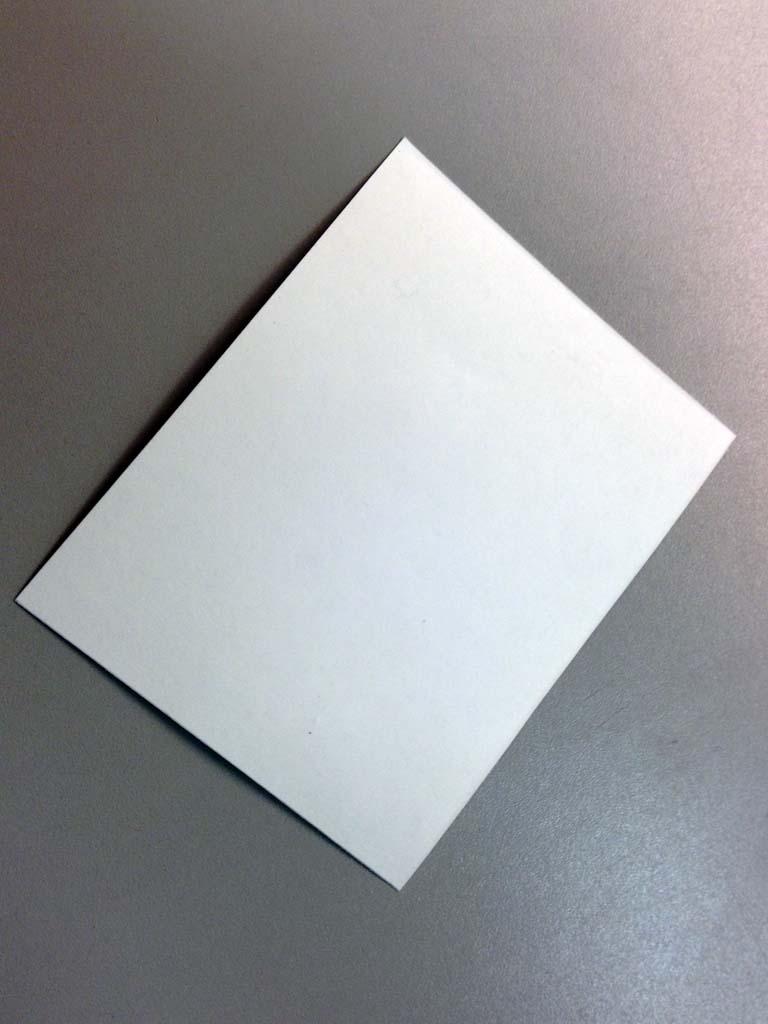 Acid-Free Card Stock Acid-Free Card Stock |
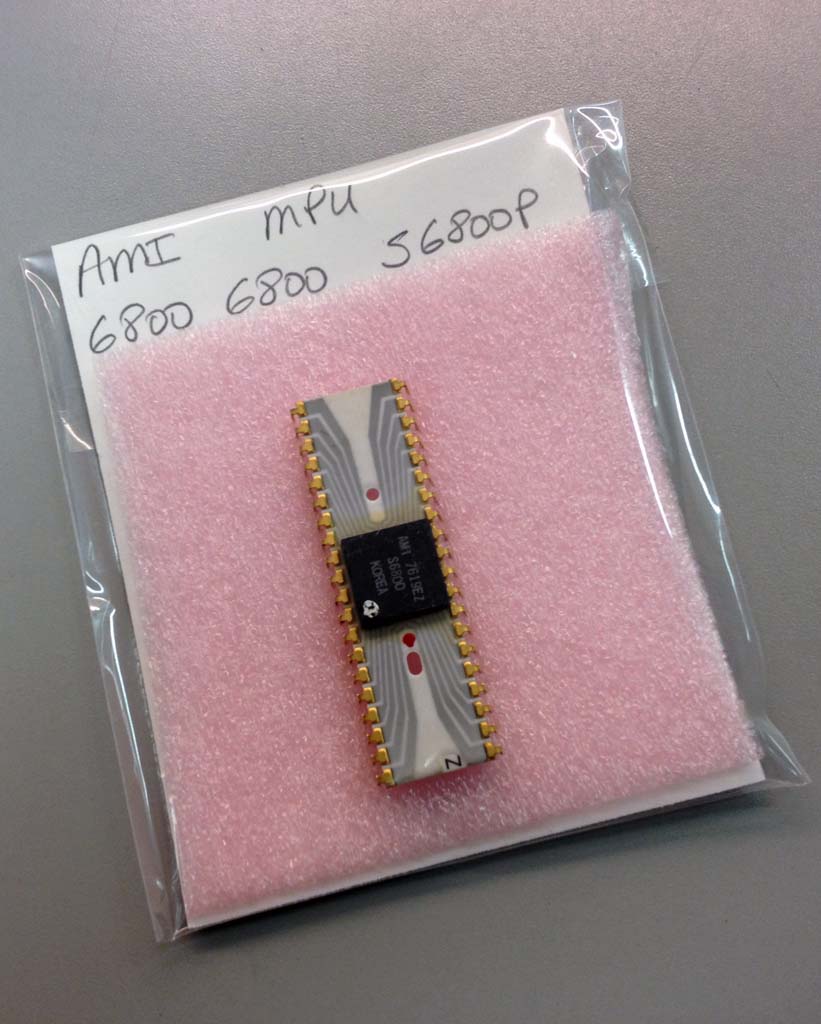 Finished Chip Package Finished Chip Package |
 Bagged Chips in the Box Bagged Chips in the Box |
Once the chips have been packaged, place them in the boxes. I use pink card stock as spacers too organize chips within the boxes. It makes it very easy to move chips around and further subdivide should you desire. Cut the pink card stock to 4.25″Hx3″W. I use Sharpie felt pens to label them (they are acid-free). I also label the boxes with removable labels and Sharpies. The cost for the card box solution runs about 5 cents a chip (assuming one chip per bag, much better when storing spares together). This a highly flexible and cost effective solution.
Cabinet Storage
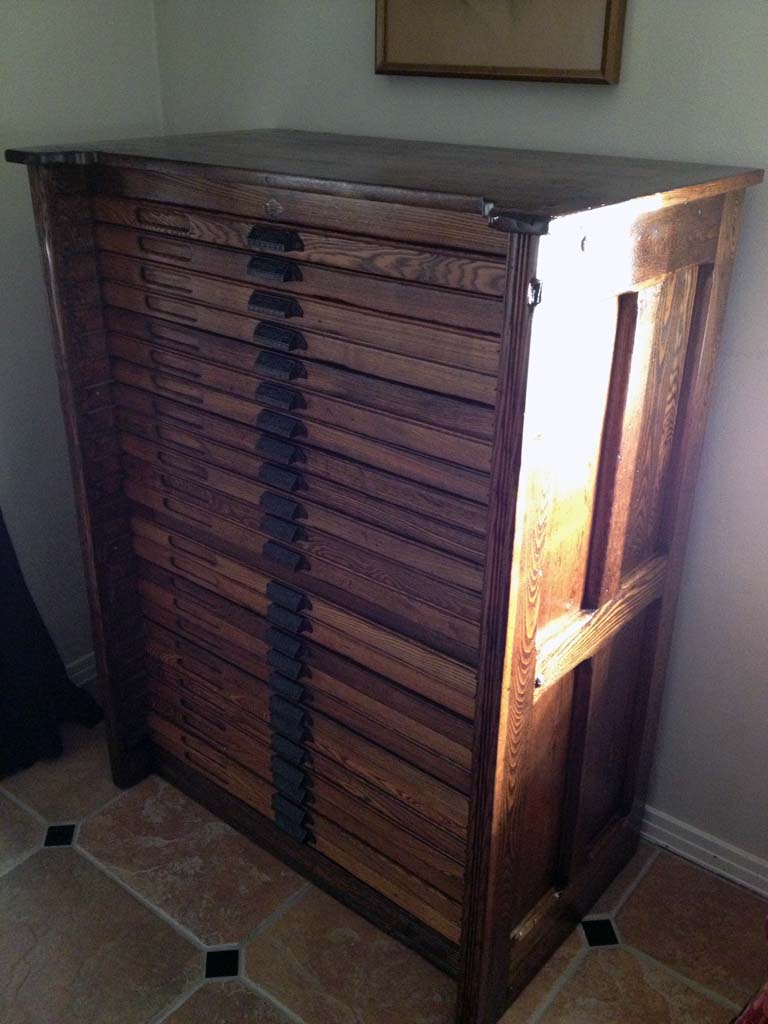 As much as I like the card box solution, it is not an awe inspiring display solution. Using a cabinet, especially an antique cabinet, is very cool, very impressive, but requires a little more work to maintain. Two types of cabinets are useful as chip collections: blueprint cabinets and printer’s typeface cabinets. Each cabinet will store about 5,000 chips. I bought a printer’s cabinet made in 1910 for about $1,700. It cost another $150 for black 1/4″ anti-static foam to fill out all the individual compartments.
This winds up being the big difference between the blueprint and printer’s cabinets. Blueprint drawers an completely open. You can put in one large piece of anti-static foam to cover the entire drawer. Printer’s cabinet drawers are divided into lots of small compartments to store different lead typefaces. The cabinets are divided into two cases of 12 drawers each: an upper and a lower. Capital letters were stored in the upper case and small letters were stored in the lower case, just in case you wondered where the font terms upper and lower case came from.
 Back to my printer’s cabinet, so the overall cost is about 35 cents a chip. However, if you go over the 5,000 limit of the cabinet, it’s time to buy another, so expansion can be costly. One nice thing about my cabinet is that drawers are interchangeable, so reorganizing is not too painful. The individual compartments is a blessing and a curse. This compartmentalization gives more options for organizing your chips, makes them easier to find and put back, and looks cool. However, it requires you forgo perfect organization. You’ll find yourself wanting to squeeze one more chip into a compartment, but you won’t be able to do it. Also, you will find yourself wanting to leave open spaces for future chips, you will need to be realistic about this need. I also recommend creating a map of each drawer to make sure chips stay where they are supposed to be.
The big challenge of the prepping the printer’s cabinet is cutting all of the individual anti-static foam pieces for each compartment of each drawer. This will be about 2,300 individual pieces. It took me a total of about 6 hours to cut and place them all. I did them all before putting any chips in the cabinet…
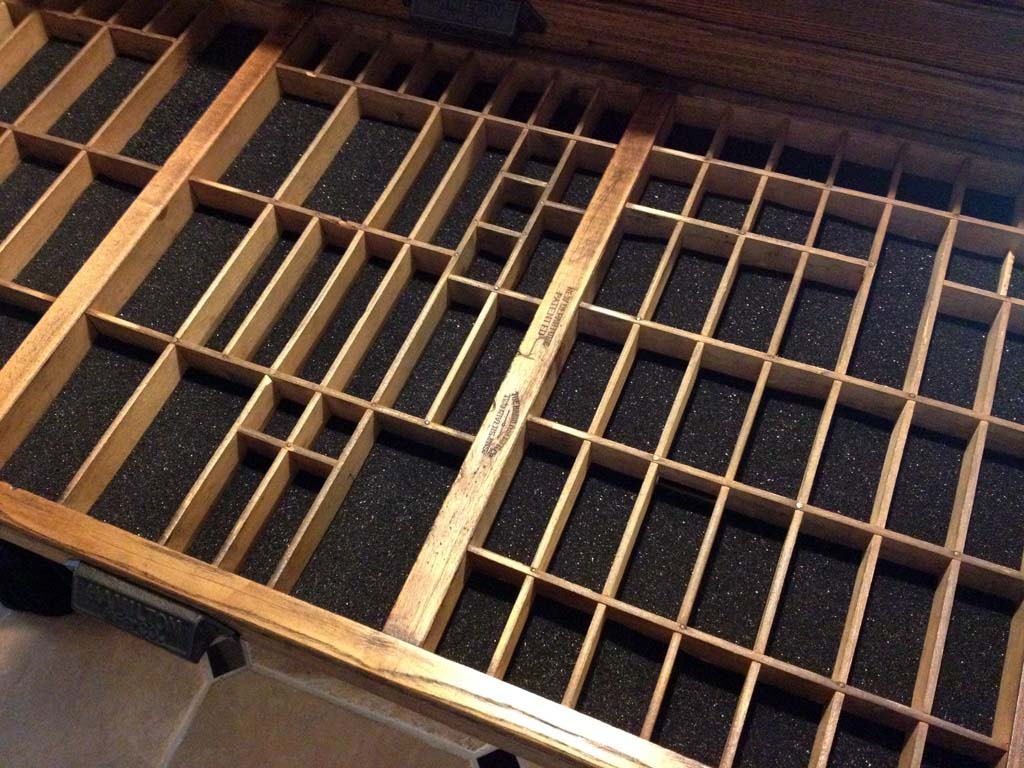 Compartments with AS foam Compartments with AS foam |
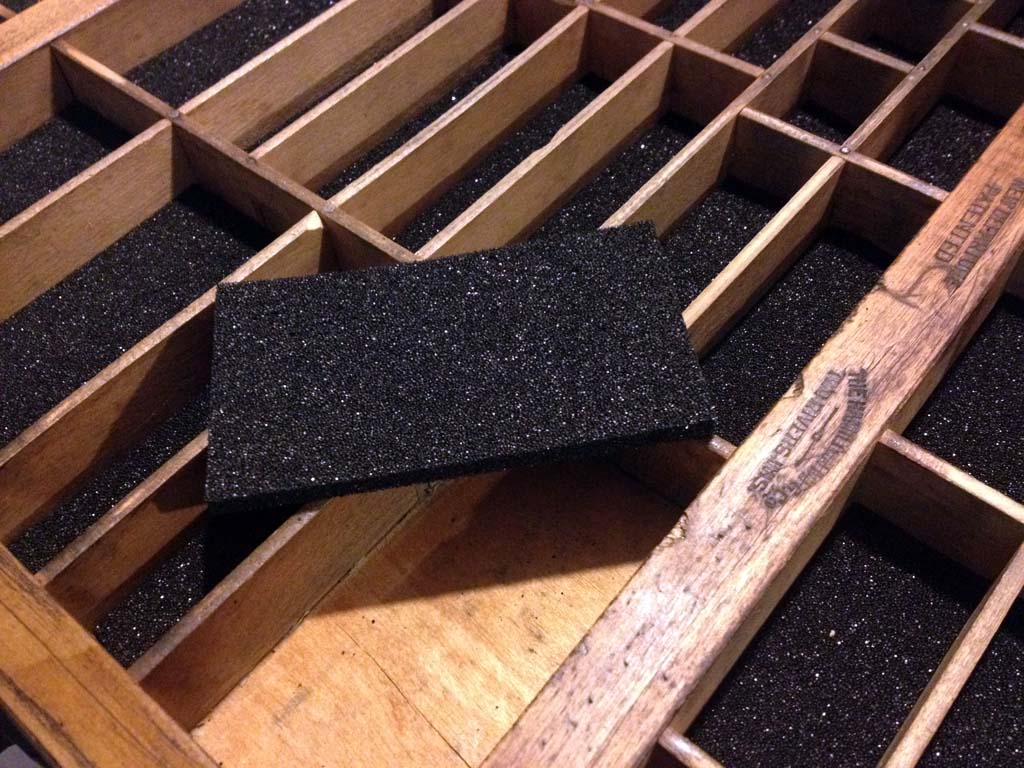 Piece of AS foam removed Piece of AS foam removed |
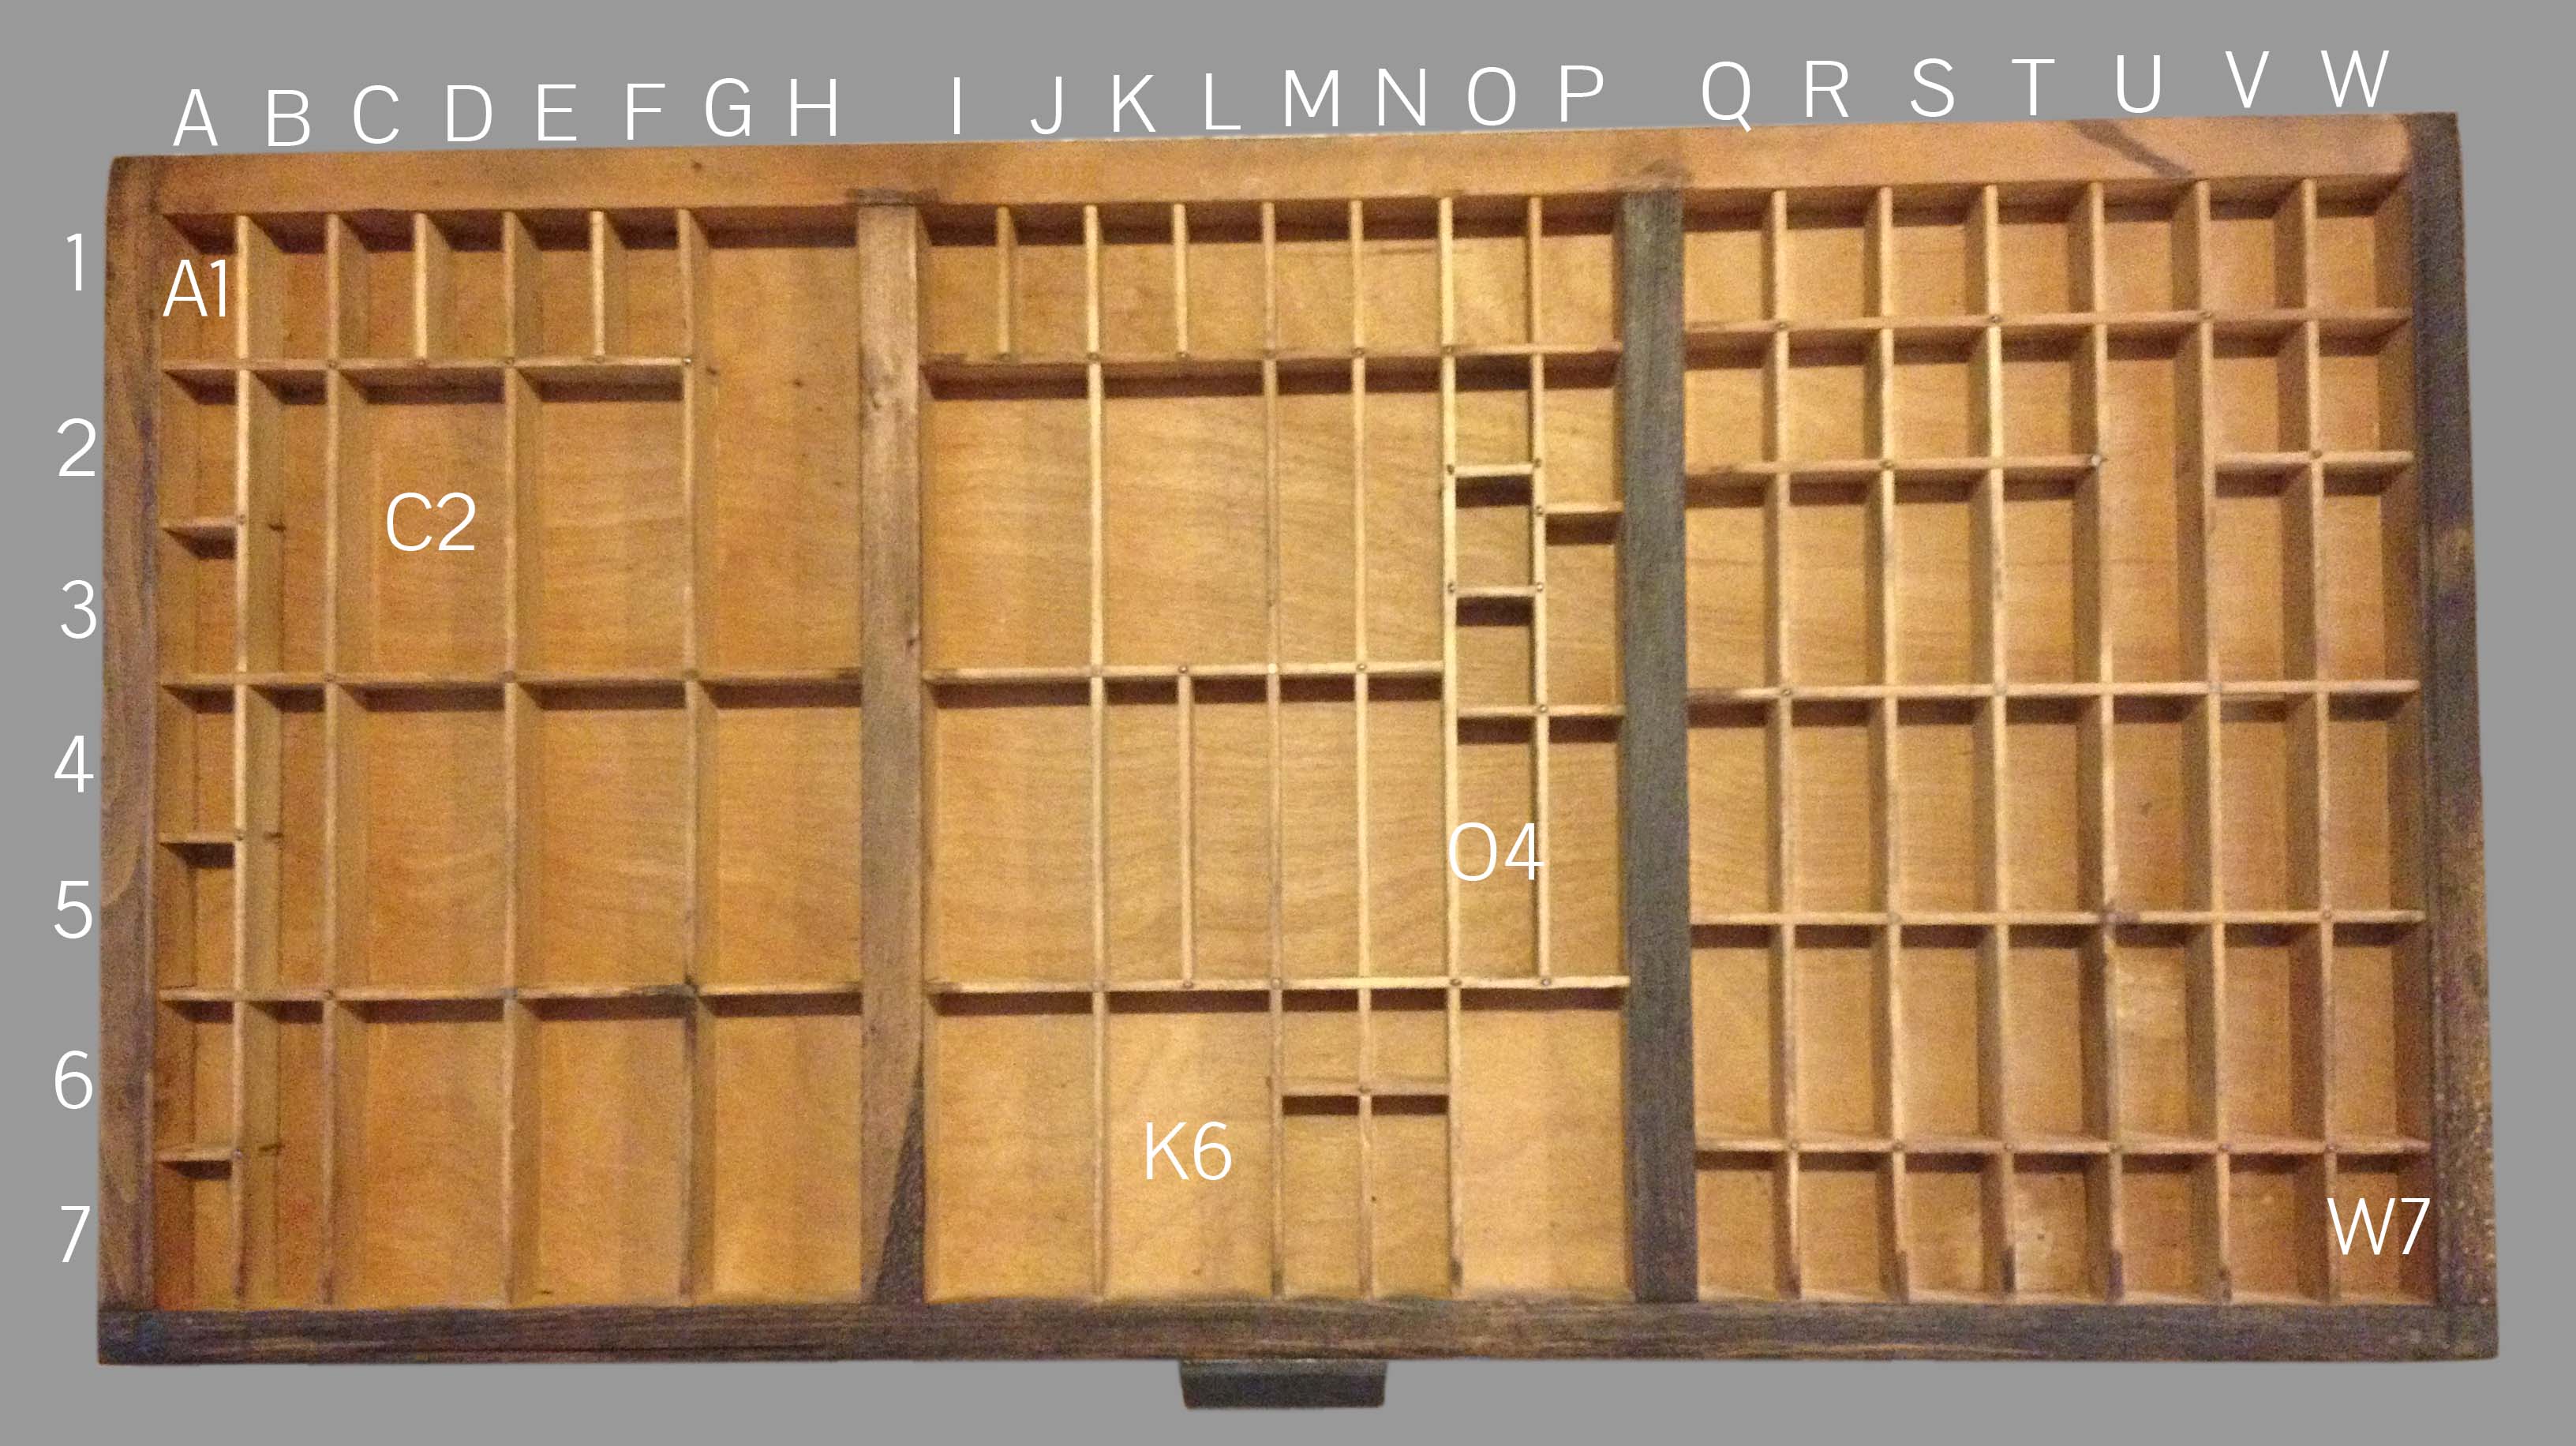 Compartment identification grid Compartment identification grid |
The last picture in the series above is of the grid system I use for locating chips. It is a little like a spreadsheet with the columns being lettered and rows being numbered. It is not a perfect array though. Some of the compartments are larger than the others, so my scheme is to label the compartment by the first position in the the most upper right position that is in the larger compartment. In the picture you will see examples. In my chip inventory the location is noted by the drawer number, the compartment number, and the LRTB number. The LRTB number takes into account that sometime more than one chip will be in the compartment. Chips are number Left to Right and then Top to Bottom. Numbering just as you would read. So, if I have four chips in two columns in a compartment, then the upper left is 1, upper right is 2, lower left is 3, and lower right is 4. This system provides a way to locate all chips in the cabinet.